Secure Initial Server Setup with Ubuntu
This is how I set up and secure a new instance of Ubuntu Server.
Getting Started
Ubuntu has been my Linux flavor of choice for many years now, mainly because of it's stability and massive community support. Here is how I go about setting up and securing a new instance of Ubuntu Server. Note that I'm assuming you know the basics of Linux and server management.
Step 1 - Login
After the server is ready, log in as root.
Step 2 - Update
Get the latest available packages:
apt update && apt upgrade -yFetch the latest packages and install any updates
If it says it needs to restart to get the latest kernel, now is a good time (optional):
rebootImmediately restart the server
Step 3 - Install VPN
Ideally your server will have no unnecessarily open inbound ports. That means the port you're using for SSH (port 20 by default) should not be open. To do this while still being able to access the server remotely, we'll use a VPN. I am partial to Tailscale, but you are free to use whatever you prefer.
Follow Tailscale's documentation for installation. After installing, be sure to start Tailscale with SSH enabled:
tailscale up --sshStart Tailscale with SSH enabled
Step 4 - Create your user
You should almost never be using the root user to manage your server. So, let's create a new one for you to use:
adduser your_usernameCreate a new user
Step 5 - Add your user to sudo
Since you'll still want administrative permission when you need it, you'll need to add your newly created user to the sudo group:
usermod -aG sudo your_usernameAdd your user to the sudo group
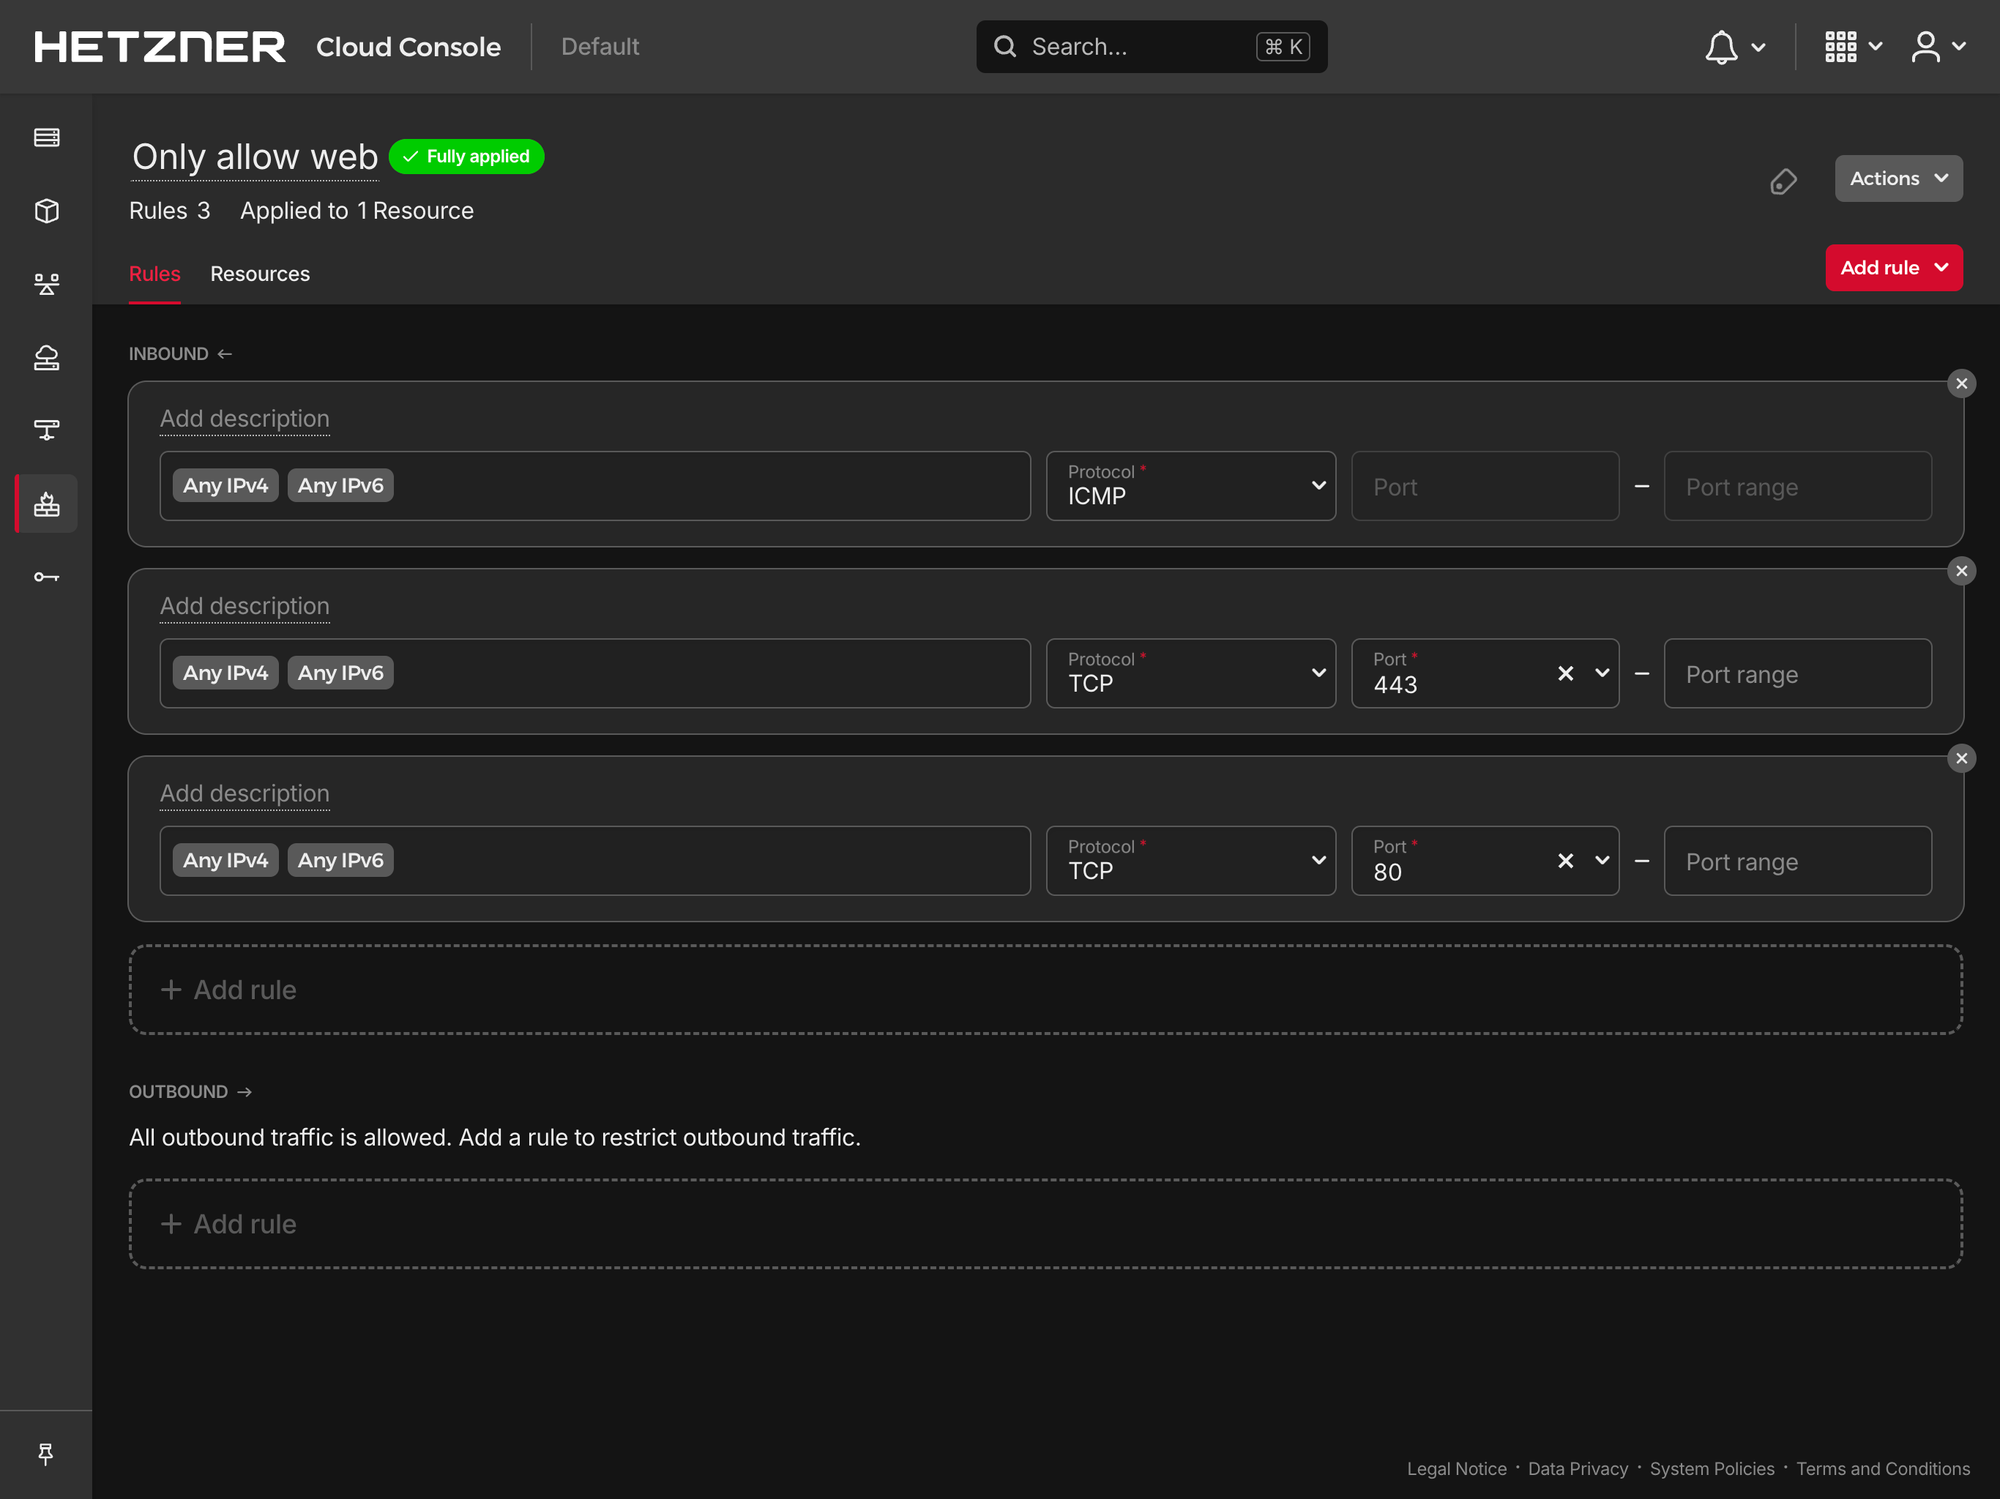
Step 6 - Setup your firewall
If your server provider offers a firewall service, you should use that. It's better to have your firewall running on separate hardware than your server. However, if your provider doesn't offer that, use ufw.
Regardless of what you're using as a firewall, here's a basic firewall setup:
- Block all inbound traffic by default
- If you plan on serving web traffic, allow ports
443(HTTPS) and80(HTTP). However, you do not need port80if all of your web traffic will be SSL (HTTPS).
Conclusion
With the firewall in place, your server is setup and ready to get working!
Happy hacking!
Optional Steps
Below is just a few extra things I like to setup as well. However, they are more specific to my workflow.
Install Docker
I try to keep anything running on the server within Docker. By default, your Ubuntu installation might already have Docker installed. However, I recommend installing it through their apt repository.
Follow the documentation for installing Docker through apt.
After doing so, you can add your user to the Docker group so you don't have to keep using sudo (optional):
sudo usermod -aG docker your_usernameAdd your user to the docker group